Christmas crafts are a great way to make the most of the festive season. Crafts are a fantastic, kid friendly activity the whole family can enjoy! Spend quality time getting creative with your family this Christmas! These are our top 10 Christmas crafts to create with your kids. Read on to find out more…
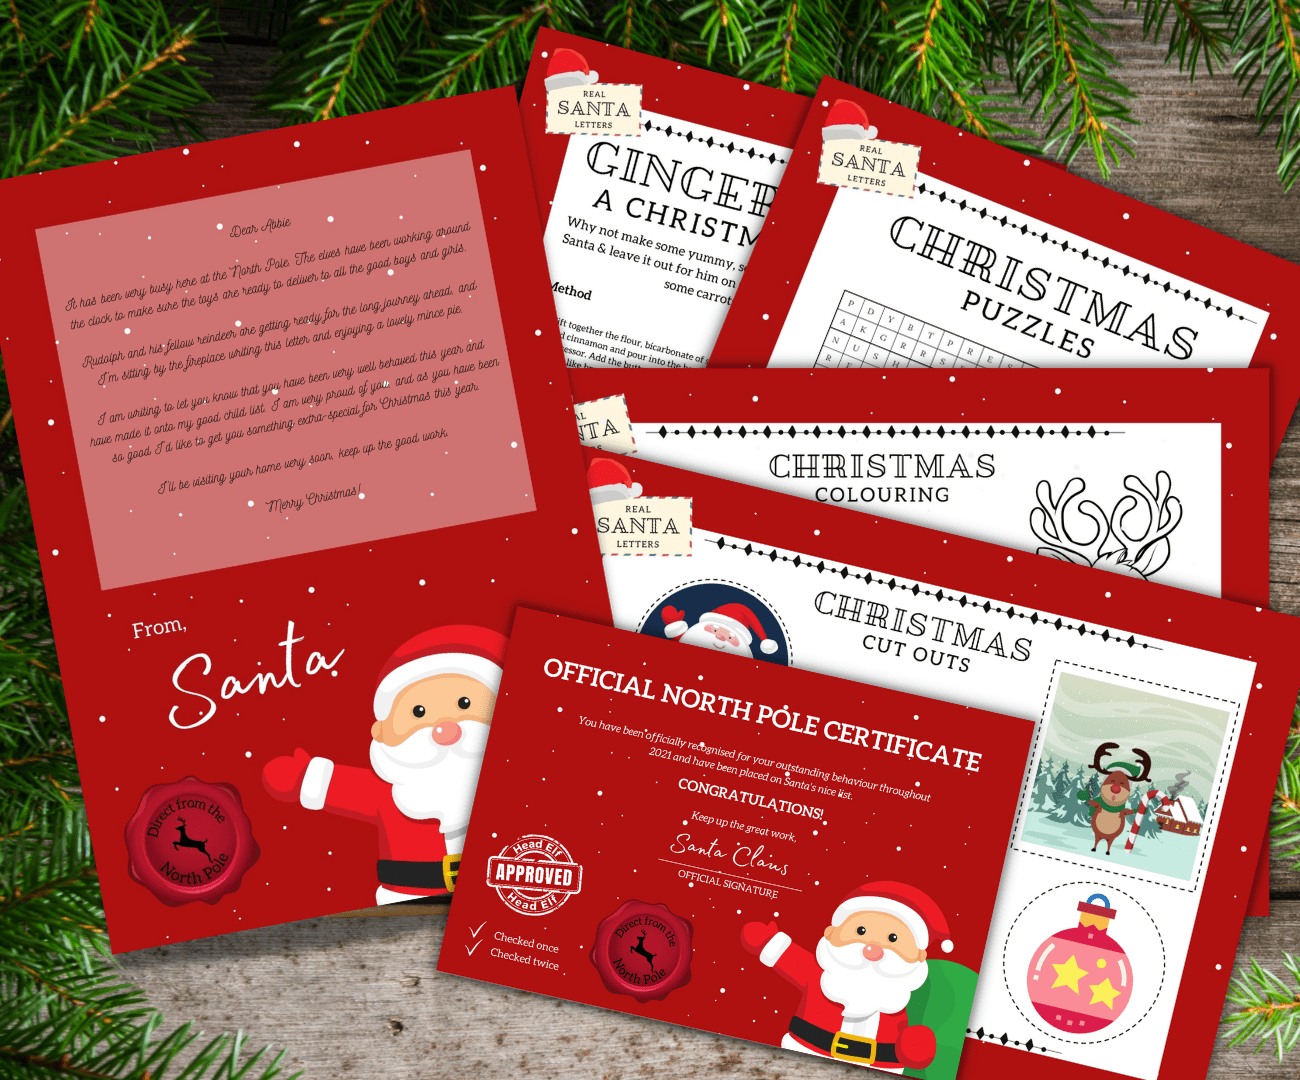
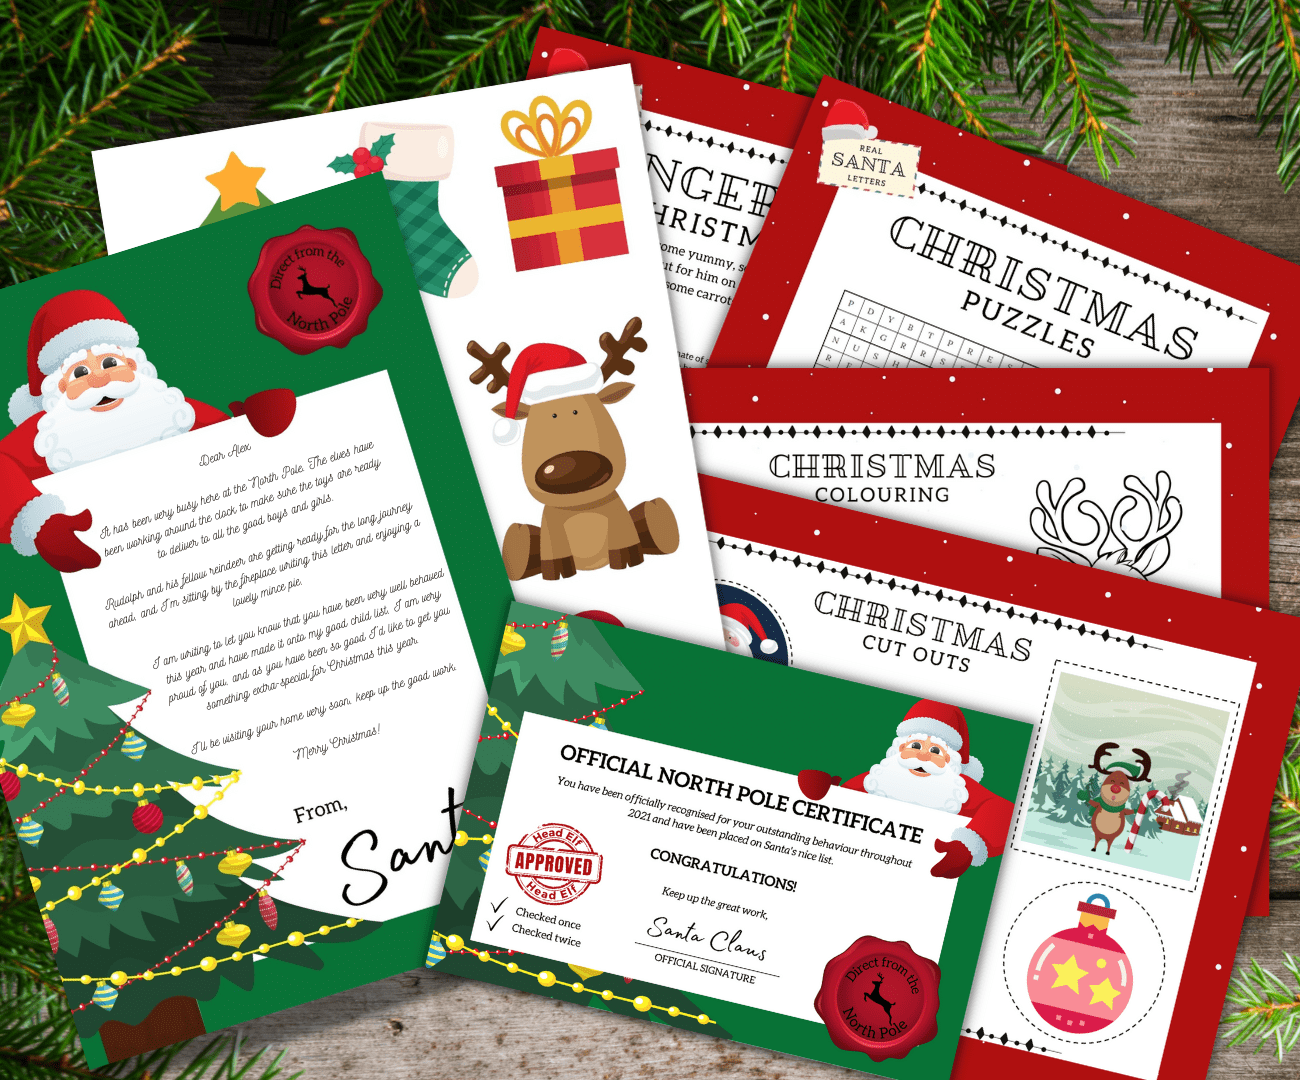
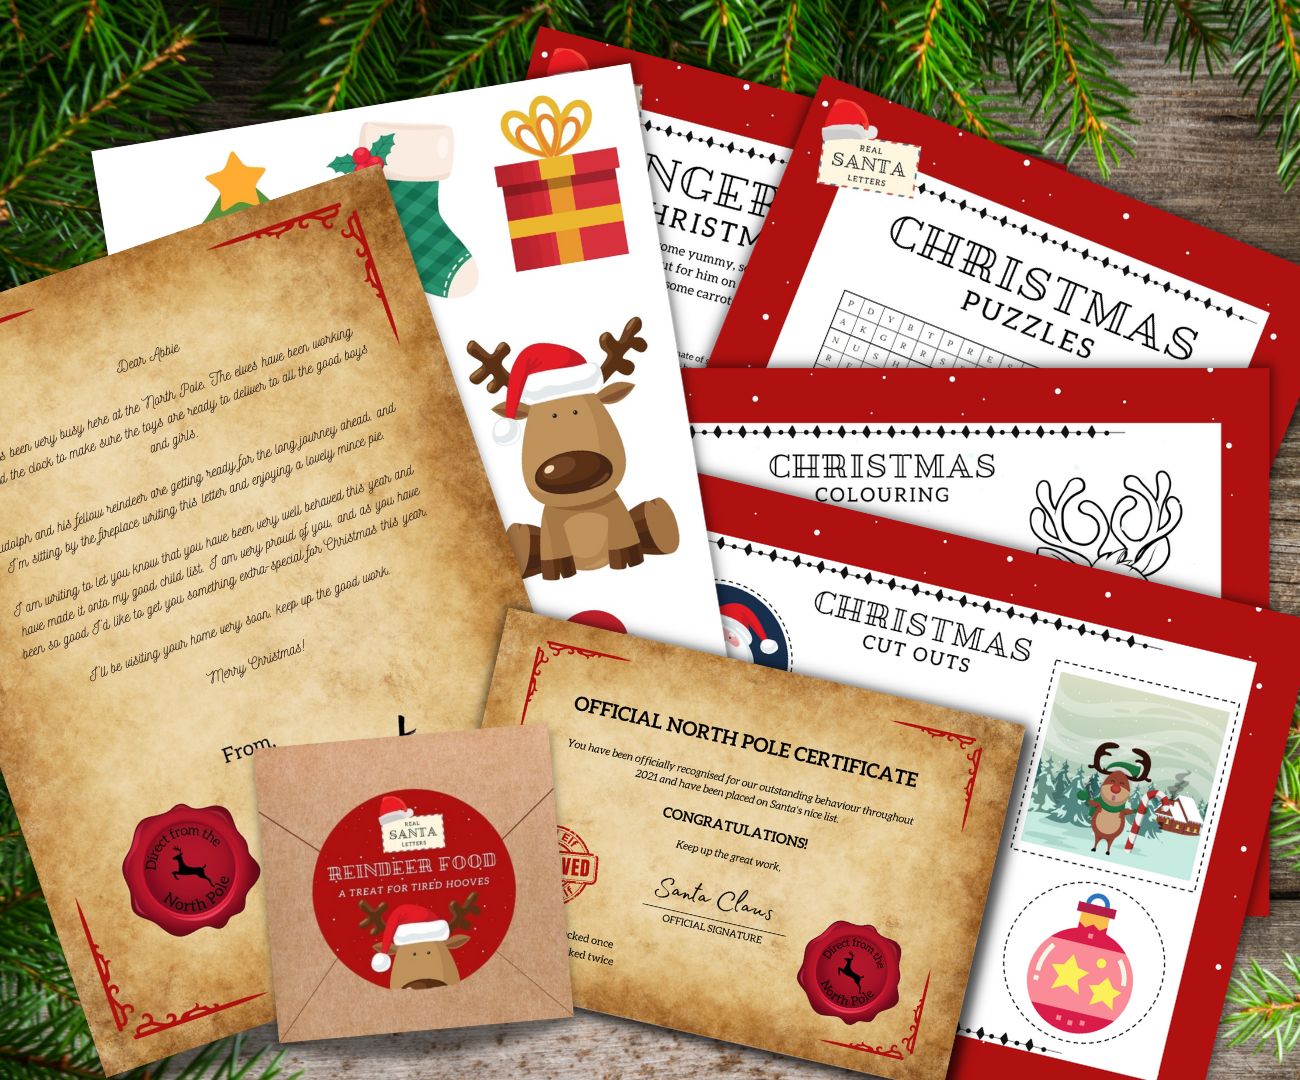
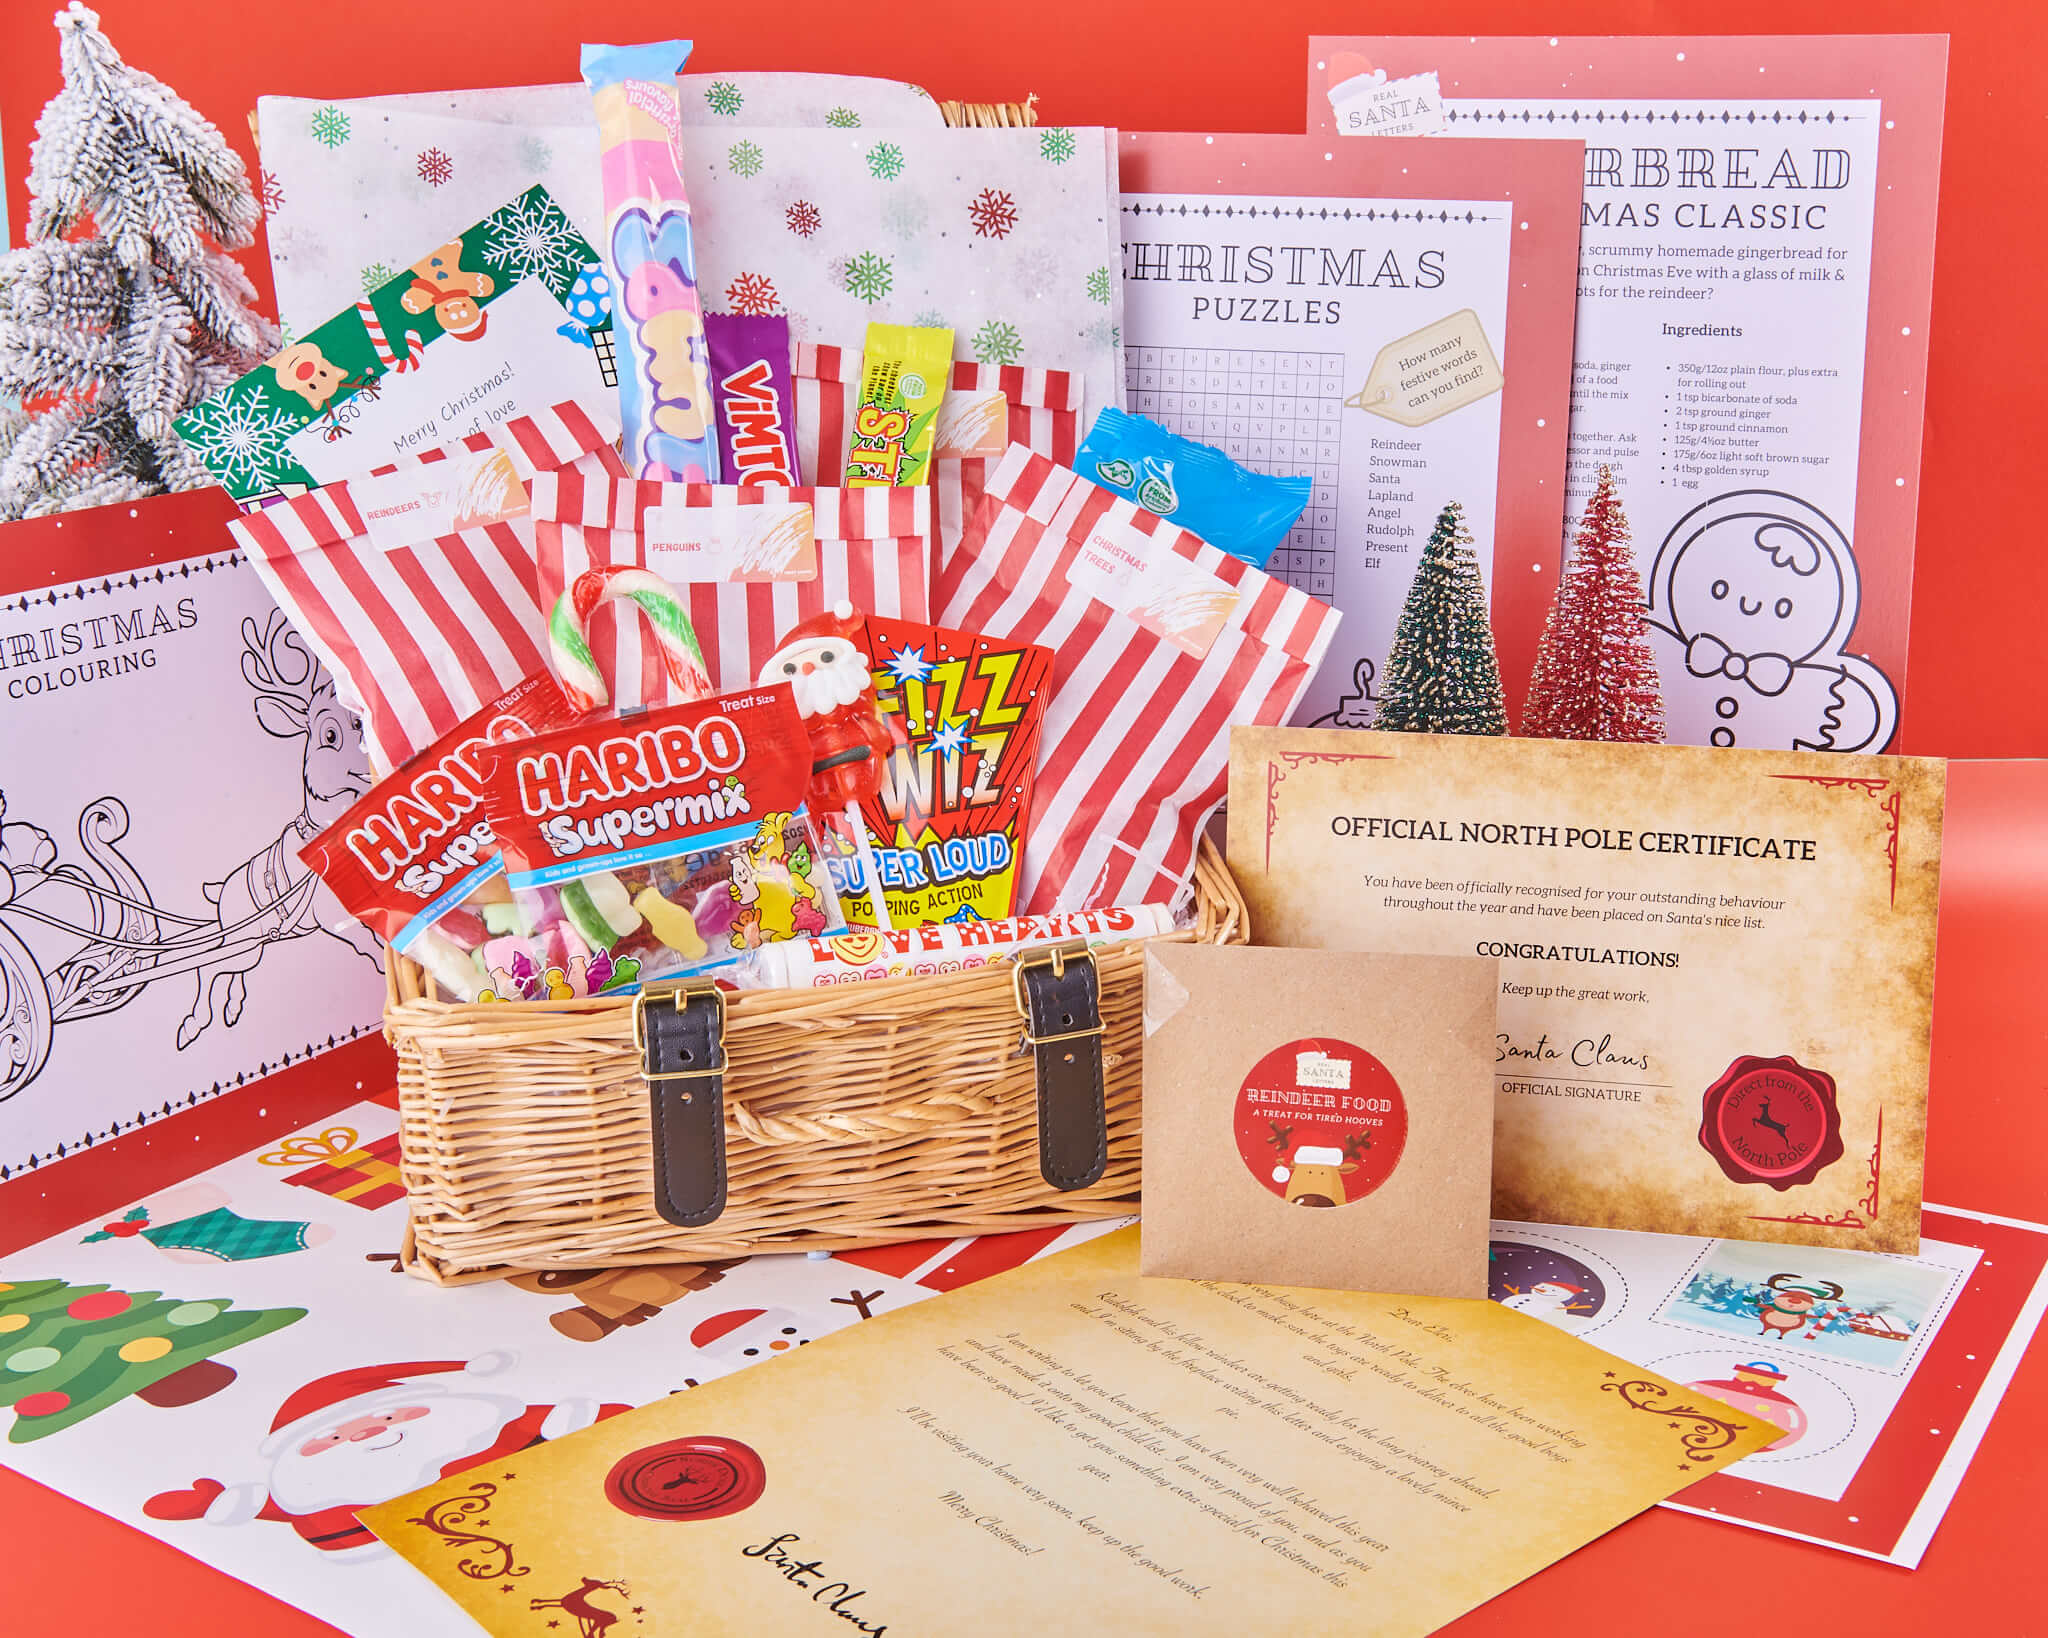
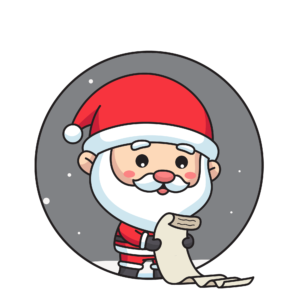
Personalised Letter from Santa
Santa loves receiving letters from children all over the world. He likes to know all the good things children have done, what presents they would like to receive, and what their favourite thing about Christmas is. Delivering a homemade santa letter also shows him that your children are polite and considerate. They don’t just care about presents, they also love spreading the Christmas spirit!
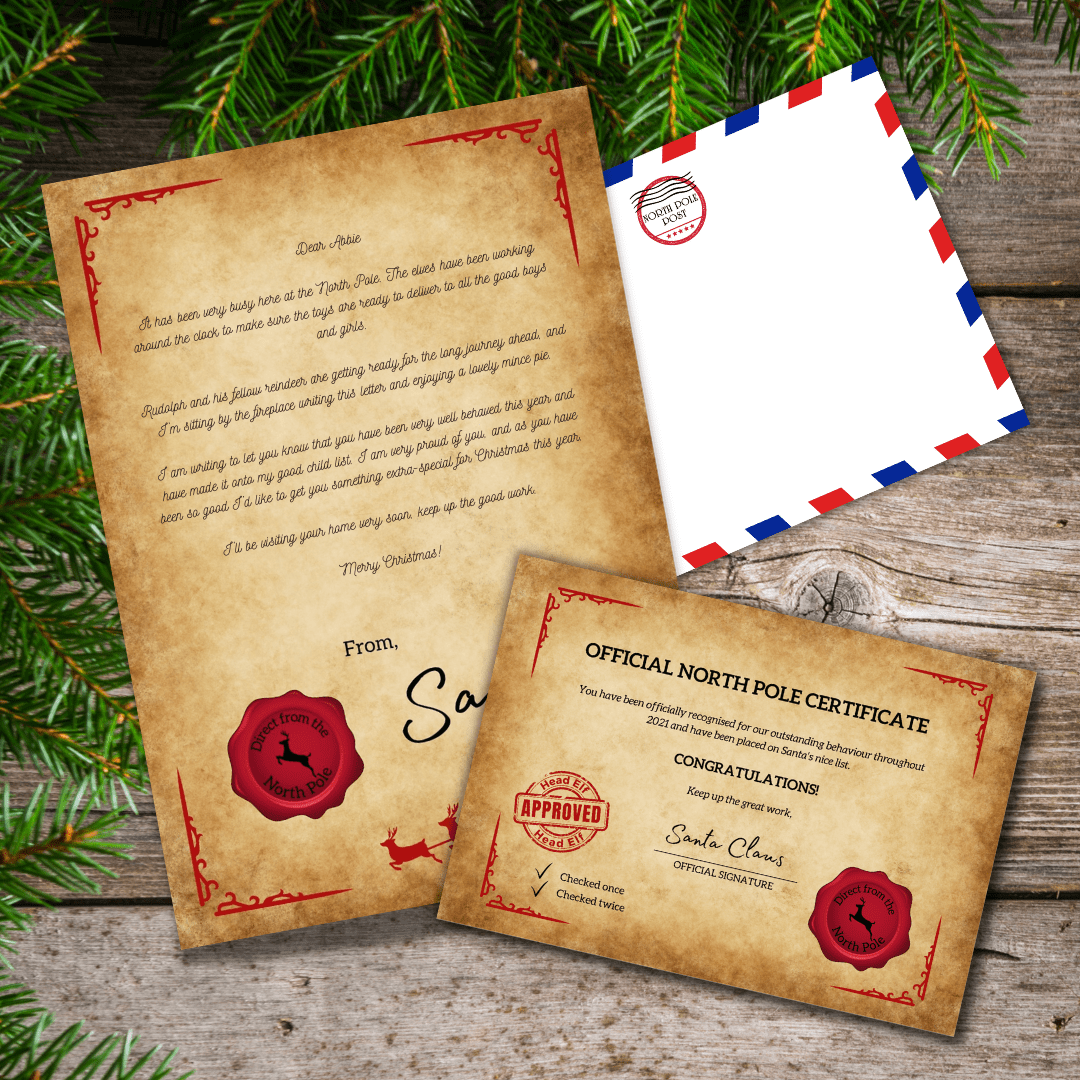
For an extra surprise you can get a letter from Santa sent back too! Personalised with your child’s name and very special message. Don’t forget to mention they’ll be on the nice list this year.
What You’ll Need
- Paper.
- Colourful gel pens.
- Christmas decorations and crafts.
1. Pick Your Paper
First, you’ll need to find some high quality paper to write on. We recommend white or ivory letter paper. Letter paper is a little bit denser than ordinary paper, this makes it more durable and formal. You can even purchase letter paper and envelopes with Christmas illustrations. Only the best for old Saint Nick!
2. Think of What to Write
Before you place pen to paper, make sure you – and your children – have a good idea of what to write. If you’re looking for some guidance, start with introducing yourself, then ask Santa how he is, remind him that you’ve been very good, and finally, ask Santa nicely for presents. Finish your letter by expressing your gratitude for Santa and all the amazing things he does!
Check out our list of santa’s nice list guide for 2022!
3. Decorate
Decorate your letter with Christmas sparkles, glitter, pictures, and patterns. Be as creative as possible! Santa wants to see your personality shine through your letter.
4. Send it Off
Now it’s time to send the letter off to the North Pole. Find a reputable delivery service that will send the letter safely and securely. We recommend double checking when the last posting date is (usually it’s around 10th December). If you miss this date, Santa may not have time to reply to you!
Christmas Ornament

Christmas ornaments are such a fun crafting activity! You can make DIY bell ornaments, pom-pom decorations, paper house ornaments, candy-cane decorations, the list is endless…
Our favourite ornaments to make are felt snowmen! They are family-friendly, easy to make, and require minimal materials. Felt snowmen look so cute on your Christmas tree! This is how to make them…
What You’ll Need
- Colourful felt (white, red, black, blue).
- Scissors.
- Hot glue.
- Ribbon.
1. Cut White Felt
You need to start by cutting the white felt into snowmen shapes. The easiest way to do this is to draw a figure eight shape and cut around the edges. This will give you two “snowballs” on top of each other. You could also trace around the bottom of a glass to achieve symmetrical circles. It’s up to you whether you do two or three “snowballs” for your snowman.
2. Eyes, Hat, Scarf, and Buttons.
Next, cut out a hat, scarf, and buttons from the felt (in whatever colour you like!). You can add any other accessories you like to your snowmen. A carrot nose, hair, ears, stick arms, it’s up to you! Personalise them however you like!
3. Glue
Now it’s time to glue everything together. Double check the hat, gloves, and buttons are the right size. If not, remake them to suit the snowman. We recommend using hot glue to stick everything down. It’s stronger than normal PVA glue!
3. Tie a Ribbon
Finally, make a tiny hole at the top of each snowman’s head. Tie a ribbon through the hole and knot the edges together. The ribbon will be used to hang the snowmen off your Christmas tree!
Gingerbread Men

Gingerbread men are a crafty Christmas tradition! It’s so much fun to bake a batch of delicious gingerbread men, decorate them in Christmas colours, and then share them with your family and friends. The best part is that gingerbread men are super easy to make! The base is just a combination of flour, sugar, butter, and various spices! You can decorate the gingerbread men with icing, sprinkles, chocolate, or sweets!
Advent Calendar

No need to repurchase an advent calendar every year when you can make one that lasts forever. Crafting an advent calendar is a great project to occupy yourselves with over the quiet festive season. All you’ll need for a DIY advent calendar are old envelopes or boxes. Stick 23 envelopes or boxes on a cardboard board (or some alternative) and decorate each with the number of the day. In addition, you can draw pictures and colour them in. This project can be as low or as high maintenance as you like!
Mini Decor Trees
Mini decor trees are a lovely addition to your Christmas decorations. They can be placed on the mantelpiece, dinner table, coffee table, or bookshelf. You can make mini decor trees in a variety of materials and shapes. You can make a mini tree out of plywood, tinsel, cardboard, felt, or wool. If you’re looking for a really easy craft project, follow this step-by-step guide below.
What You’ll Need
- Mini vases.
- Ribbon.
- Tinsel.
- Fig or pine branches.
1. Forage for Branches.
Forage for branches from fig or pine trees. Make sure they are a reasonable size and are sturdy enough to stand upright. These branches will be the base of your Christmas tree.
2. Cut Branches
If you’ve foraged larger branches, cut them into smaller bits. You’re aiming to cut the branches to about 15-20cm.
3. Find Vases
Purchase mini vases in bulk from your nearest craft store, or find a bunch in your local charity shop. Once you’ve sourced the vases, arrange the branches inside.
4. Decorate the Trees
Time for the fun part! Decorate the trees with ribbons, tinsel, and fairy lights.
DIY Hot Cocoa Kit

A DIY hot cocoa kit makes a perfect gift.
What You’ll Need
- Glass Jars.
- Cocoa Powder.
- Chocolate.
- Candy canes (optional).
- Marshmallows.
1. Prepare the Jars
Purchase glass jars or try to find some lying around your kitchen.
2. Layer the Ingredients in the Jars
Your first layer should be crushed milk chocolate, followed by cocoa powder and crushed candy canes. Finally, top with mini marshmallows.
3. Decorate the Jars
Decorate the jars with ribbons and personalised name tags. Your DIY hot cocoa kits are ready to be gifted to your friends and family.
Festive Wreath
There’s nothing more festive than a wreath! Spend quality time crafting a wreath with your kids. All you’ll need is some flowers, greenery, wire, and scissors. You can choose any combination of plants to use on your wreath. The only limit is your imagination when it comes to wreath making! After you’ve finished crafting your wreath, you can hang it on your door and appreciate it every day.

Reindeer Pom Pom Decorations
Reindeer pom pom decorations are one of our favourite kid-friendly activities! Reindeer pom pom decorations can be made into magnets or hung on your Christmas tree. To make these adorable decorations, you’ll need to first make a pom pom. Glue antlers, eyes, and a nose onto each pom pom. You can either stick a magnet on the back or tie a ribbon through the pom pom. How easy is that!
Homemade Christmas Cards
Homemade Christmas cards are a super creative festive activity. There’s no rule book or step by step guide here. Gather some paper, pens, and decorations, and go crazy! Just remember to add a lovely note inside of the card!

Thumbprint Art
Do your kids love finger painting? If so, try out thumbprint art this Christmas! Get some Christmas colour paint, dip it in your thumbs, and create a masterpiece using only your thumbprint! Encourage your kids to paint Christmas themed characters! We love to paint Santa Claus, snowmen, or Christmas trees. You can even turn the finished painting into a Christmas card.